By Justin Bolinger, Contributor for AvidCyclist.com & Owner iknowaguybicycles.com
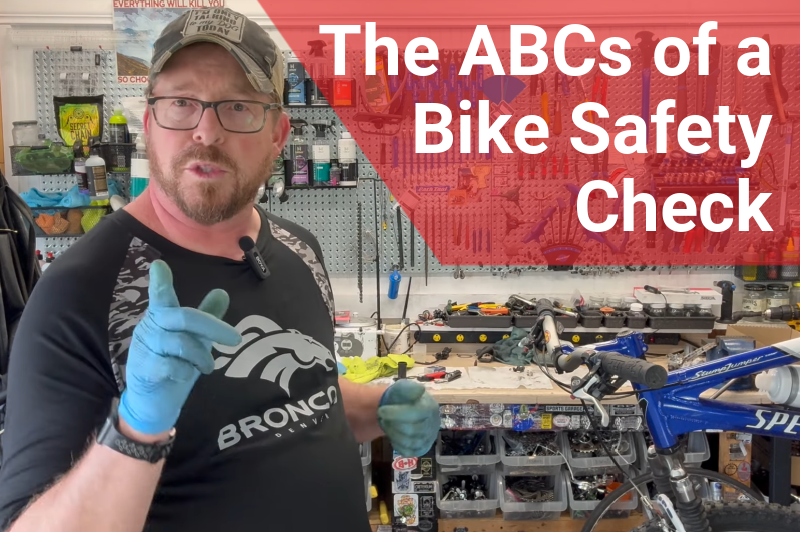
Before you hit the trails or the pavement, ensuring your bike is safe and ready to ride is absolutely crucial. Regular maintenance not only prevents catastrophic failures but also guarantees a safe and enjoyable experience. As I always say, this basic check is often what bike shops consider a “lower-end tune-up,” and you can easily do it yourself. Let’s dive into the fundamental safety routine you should perform regularly, ideally every other ride: the ABCs of bike safety.
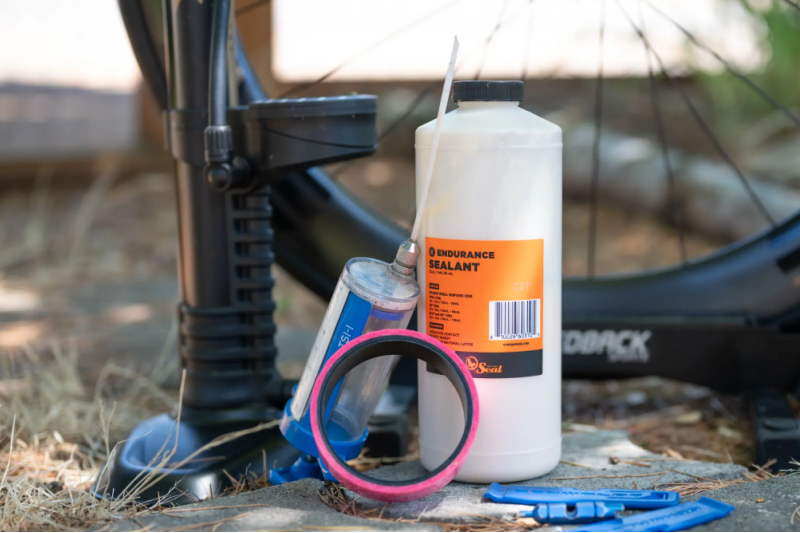
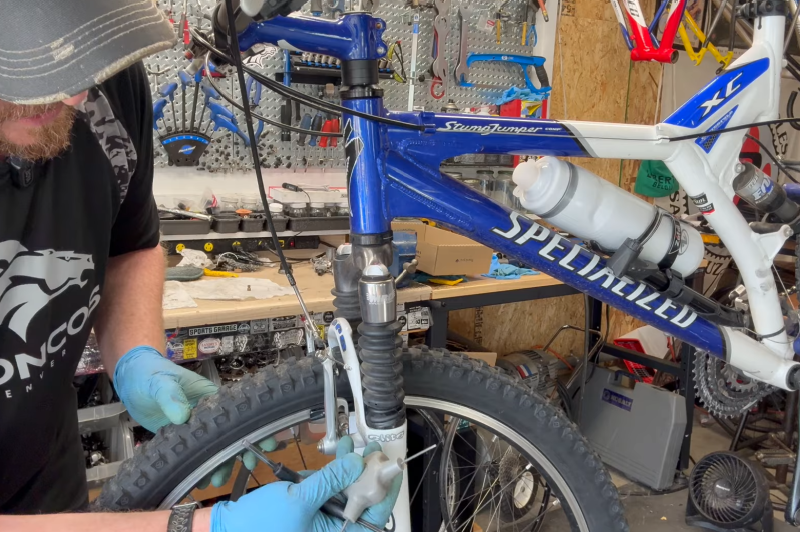
“A” is for Air: Checking Your Tires
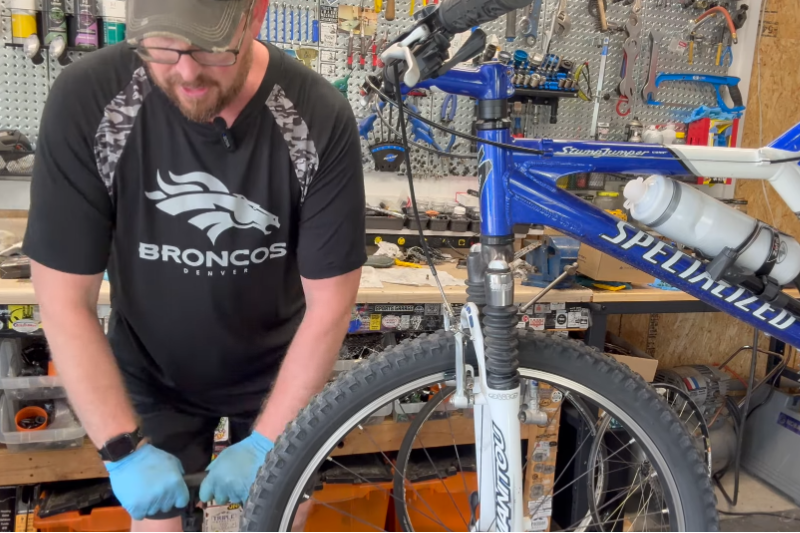
The foundation of a good ride starts where the rubber meets the road. Checking your tire pressure is the first step in the ABC check.
First, identify your valve type. The two main types are Presta (which requires unscrewing a small grommet to release air) and Schrader (similar to a car tire valve). Once you know your valve, always check the side of the tire for the recommended PSI range. You don’t want to go too low or too high.
Use a floor pump with a gauge or a compressor to inflate your tires. For instance, I recently worked on a bike where the tire was at a very low 20 PSI, and I pumped it up to around 45-50 PSI for recreational riding.
After inflating, spin the wheel and check that the tire bead is seated correctly and evenly all the way around the rim on both sides. This is a critical step to prevent blowouts. Also, inspect for damage. Look for any foreign objects like thorns or “prickles” stuck in the tire. If you pull one out and hear air hissing, you’ll need to replace or patch the tube.
Remember, tire pressure dictates ride quality. Lower pressure offers a softer ride, while higher pressure is firmer and faster. Adjust within the recommended range to suit your preference.
“B” is for Brakes: Stopping is Key
Going fast is fun, but stopping is vital. “You want to stop when your little happy butt is blazing down that trail thinking you’re in your 20s again and realizing, ‘I need to slow down because guess what? I no longer bounce. I just thud and I end up in the ER in the short term.'”
Whether you have V-brakes (rim brakes), road caliper, or disc brakes, they need to be in top condition. For rim brakes, the wheel rim must be straight (trued) for the brakes to contact evenly. When squeezing the brake lever, the pads should contact the rim evenly (up and down, front to back). Crucially, they must not rub against the tire, which can cause a blowout. Ensure there is enough brake pad material remaining for strong stopping power.
Check the brake levers as well. They should feel equal on both sides and provide solid stopping power before pulling all the way to the handlebar.
“If you think you got them out of adjustment and don’t feel safe about it, always take your bike to a professional to be double-checked for safety. Brakes are huge, you want to make sure they work properly, slow you down, and stop you when you need it. Cable actuated, hydraulic, any kind, you want to make sure they’re working properly. Don’t ever go, ‘Oh, it’ll get me through the ride.’ It may not be the ride that you want, and also it might be your last ride if you’re not prepared for it. Keep that in mind.”
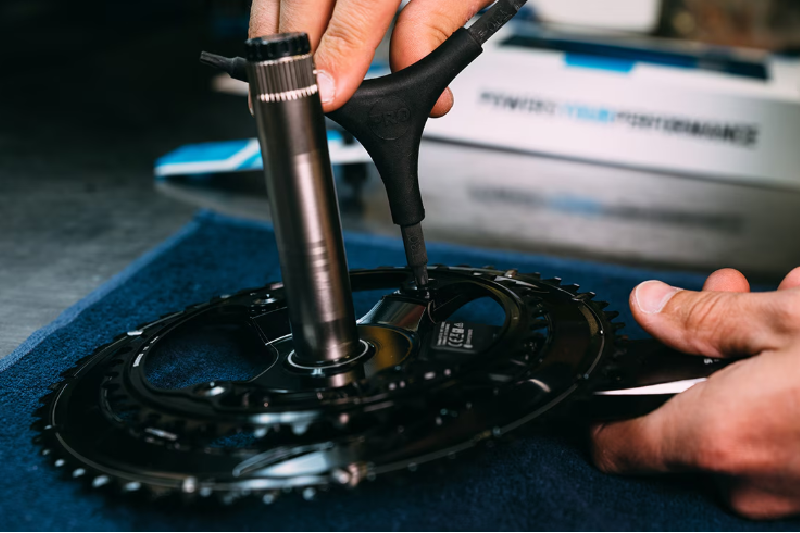
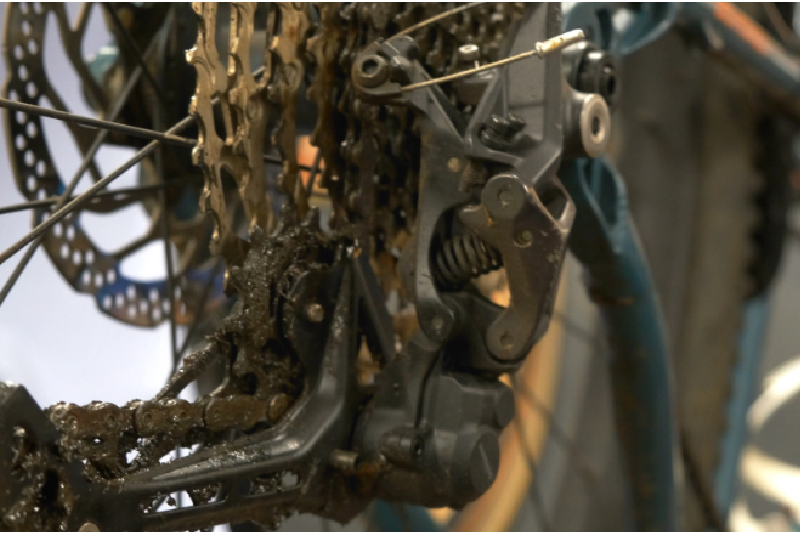
“C” is for Chain: The Drivetrain
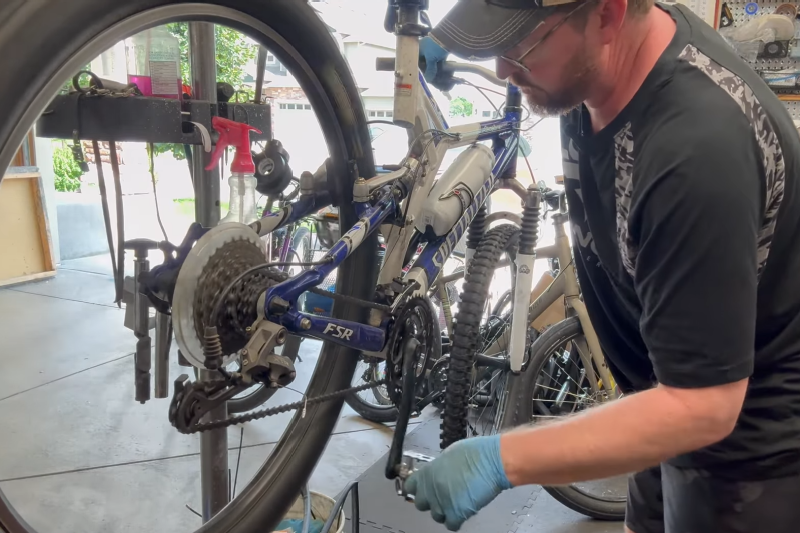
The drivetrain has a lot of moving parts: shifters, derailleurs, chain, cassettes, jockey pulleys, chainrings, and freehub bodies. “Yes, they do need to be double-checked, maintained. There’s a lot can go wrong with those, so have a professional mechanic double-check that for safety if you have any concerns.”
Pedal the bike and shift through all the gears to ensure smooth engagement without binding. If shifting is poor, check the rear derailleur alignment. If the limit screws or cable tension are off, or if the hanger is bent, it will need adjustment. Ensure the front derailleur allows the chain to move through its full range without rubbing the cage.
Lubricating the chain is also essential. “Even if it’s a general petroleum-based lube or the fancier new waxes are out, still need to be maintained in both scenarios. What that will help is prevent your chain from wearing out too fast, having your cogs and other parts not wear, and a more safer and enjoyable riding experience. Be able to get up those hills that you want to and also descend and go fast when you want to as well, and be able to stop.”
To lubricate, shift to the large chainring in the front and the second-smallest cog in the rear. Apply your lube of choice while pedaling backward. Three full rotations usually cover the chain once. Shift through all the gears to distribute a light layer of lube onto the cassette and chainrings, then use a rag to thoroughly wipe off all excess lube and black grime from the outside of the chain.
Final Words of Wisdom
Always be prepared. “Definitely have the proper tools to actually fix it on the side of the road. Tire levers, an extra tube, a pump, and a little bit of guidance from a couple videos will help you get that flat fixed and ready to roll. It’s always really good to know these things, so just in case you get 10, 15 miles into the wilderness where you may not have cell coverage, it’s really good to be prepared for those scenarios.”
And remember, if you don’t feel safe performing these checks or adjustments, take the bike to a shop. “Yeah, you might be subjected to the kind of the lone wolves, but it’s better to be safe than sorry and then actually have a good experience riding.”
If it’s nice in your neck of the woods, please go for a ride. Before that, check your A-B-C’s. Until next time, have a wonderful day!