The promise of road tubeless is undeniable: fewer flats, lower rolling resistance, and a more supple ride quality. However, the reality of setting up a tubeless system can sometimes feel like a wrestling match in your garage, complete with sprayed sealant and a tire that simply refuses to hold air. If you have ever found yourself furiously pumping only to hear the hiss of escaping air, you are not alone.
While the technology has improved significantly, the margins for error in a high-pressure road or gravel tubeless setup are slim. When a tubeless system fails to seat or hold pressure, the culprit almost always traces back to one of five key failure points: the rim tape, the valve, the tire bead, the sealant distribution, or pressure and rim compatibility. This guide breaks down the five-step checklist to help you identify the leak, fix the problem, and finally get out the door for your ride.
Step 1: The Rim Tape (The Most Common Culprit)
When a tubeless tire refuses to inflate or slowly loses pressure overnight, many riders immediately blame the valve or the tire itself. In reality, the rim tape is the most common source of the problem. The rim cavity is designed to be completely airtight, and the tape is the only barrier preventing air from escaping into the hollow rim section and out through the spoke holes.

If you observe air or sealant bubbling out from the spoke nipples, the rim tape is the leading suspect rather than the valve . The fix requires removing the tire, cleaning the rim thoroughly with isopropyl alcohol, and applying fresh tape. Best practices dictate using tape that is 2 to 5 millimeters wider than the internal rim width to ensure it extends wall-to-wall.
Apply a single layer of tape with a short overlap (about four to six inches) at the valve hole. Avoid double-wrapping the entire rim unless explicitly instructed by the manufacturer, as multiple layers can alter the rim’s dimensional stability and make tire installation significantly harder . Press the tape firmly into the rim bed while applying tension to avoid trapping air bubbles, which can eventually lead to leaks.
Step 2: The Valve Core and Base
If the tape is secure but you are still losing air, the next logical place to check is the tubeless valve. Leaks often occur around the base of the valve where it meets the rim tape.
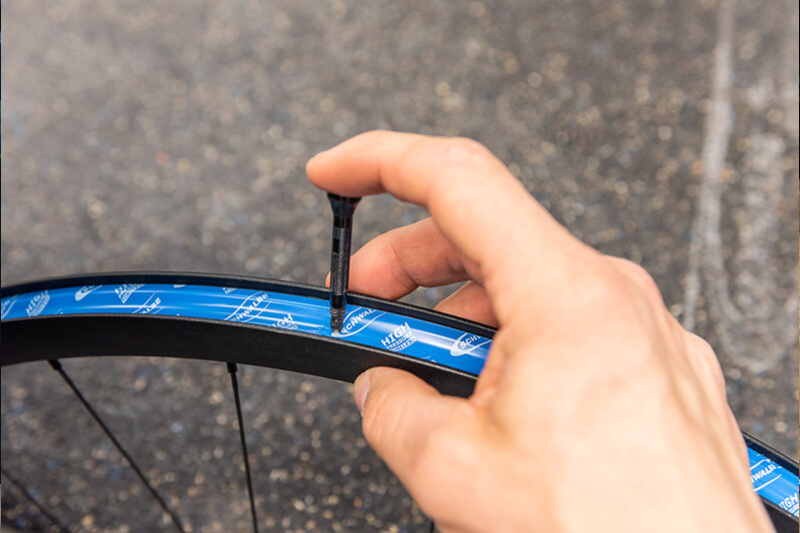
Proper installation begins with a clean puncture through the rim tape. Use a sharp pick or a heated awl to create a small, perfectly round hole for the valve stem. Press the rubber grommet at the base of the valve firmly into the rim valley, and tighten the locknut finger-tight. Avoid using pliers to over-tighten the locknut, as this can deform the rubber base, crack carbon rims, or make it impossible to remove the valve on the side of the road in the event of a flat tire.
A clean puncture through a single layer of properly tensioned rim tape is essential for a leak-free valve seal.
Additionally, valve cores can become clogged with dried sealant over time, restricting airflow during inflation or causing slow leaks. It is a good practice to periodically remove and clean the valve cores, and always carry spare cores in your saddlebag.
Step 3: Seating the Bead
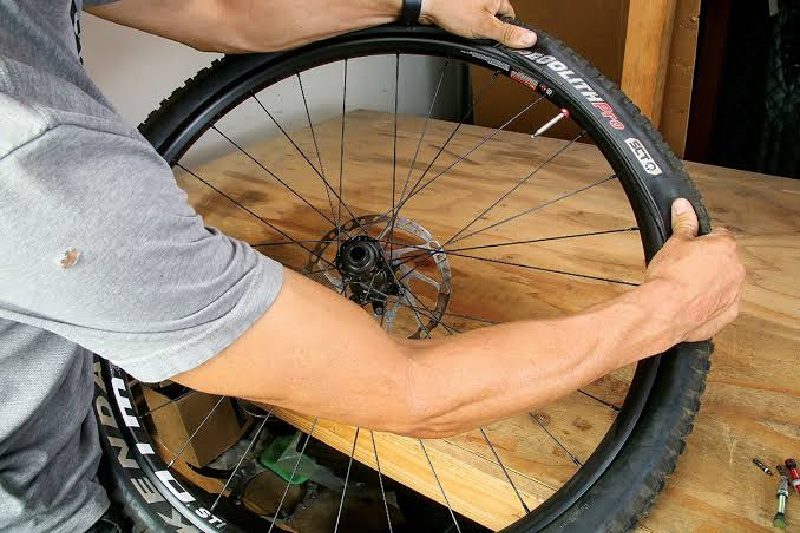
Perhaps the most frustrating part of a tubeless setup is getting the tire beads to snap onto the rim shelf. The technique for getting the tire onto the rim involves starting opposite the valve and methodically working the beads into the deepest part of the rim channel. This center channel has a smaller diameter than the outer edges of the rim, providing the crucial slack needed to pop the final section of the tire over the rim wall.
If the tire is mounted but refuses to seat and inflate, lubrication can help. Applying a fast-evaporating liquid, such as a mild soapy water solution, to the tire beads can reduce friction and help them snap into place on the rim shelf. While some mechanics prefer specific household glass cleaners, soapy water remains a reliable and widely accepted technique to evaluate.
When it comes to inflation, maximum airflow is critical. Remove the valve core to eliminate restriction and allow a larger volume of air to enter the tire quickly. While a high-volume floor pump can often provide the sudden burst of air needed to seat stubborn tire beads, an air compressor or a dedicated tubeless inflator canister makes the job significantly easier .
Step 4: Sealant Distribution and Sidewall Weeping
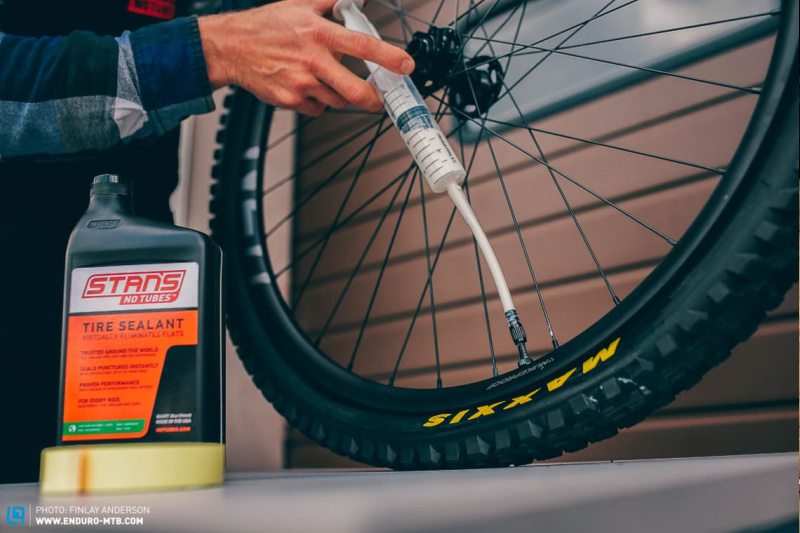
Once the tire is seated and holding some pressure, you may notice small amounts of liquid forming on the outside of the tire casing. This phenomenon, known as sidewall weeping, is common on supple, high-performance tires with high thread counts and thin casings.
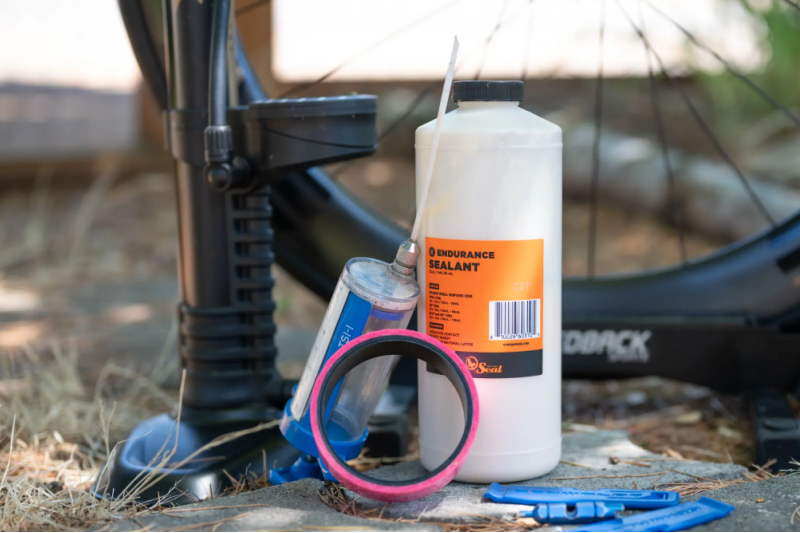
The fix is straightforward but requires patience. Add the recommended volume of tubeless sealant through the valve stem, reinstall the valve core, and inflate the tire to a safe riding pressure. Spin the wheel to distribute the sealant centrifugally, then lay the wheel flat horizontally on a shop bucket or a trash can.
Resting a freshly sealed wheel flat allows the liquid latex to coat and seal porous sidewalls overnight.
Leaving the wheel flat for several hours on each side allows the liquid latex to pool against the casing and seal the microscopic pores in the sidewalls . This step is crucial for ensuring the tire holds pressure reliably over the long term.
Step 5: Pressure and Rim Compatibility (Hookless Warnings)
The final step in a successful tubeless setup is ensuring you are running the correct pressure for your specific rim and tire combination. This is particularly critical with the widespread adoption of hookless (Tubeless Straight Side, or TSS) rims.
Unlike traditional hooked rims, which mechanically retain the tire bead, hookless rims rely on precise dimensional tolerances and lower air pressures to keep the tire safely mounted. Many current road hookless systems use 5 bar—approximately 72.5 psi—as an upper ceiling under the cited standards, but that number is not permission to inflate every combination that high . Your tire or rim maker may specify a lower limit or reject the combination entirely. Exceeding the lowest applicable limit can allow the tire to unseat, so the controlling instructions are the compatibility and pressure limits published by the relevant manufacturers.
Editorial Note: Always consult the specific rim and tire manufacturers’ compatibility charts before riding. Not all tubeless tires are approved for use on hookless rims .
Rather than inflating to the maximum allowable pressure, modern road tubeless systems perform best at much lower pressures. We strongly recommend using a reputable tire pressure calculator—such as those provided by SRAM/Zipp or Silca—to find the optimal pressure based on your system weight, tire width, and riding surface.
Practical Takeaways
Mastering road tubeless setup is a valuable skill that pays dividends in ride quality and puncture protection. Remember these core principles:
- If you have a persistent leak, always check the rim tape first and do not hesitate to re-tape the wheel if you suspect damage.
- Push the tire beads into the center channel of the rim when installing to create enough slack to finish the job.
- Never exceed the lowest applicable limit for your specific tire-and-rim combination. A 5-bar ceiling is common in road hookless guidance, but the manufacturer may require less or prohibit the pairing entirely.
By following this five-step checklist, you can eliminate the guesswork from your tubeless maintenance and spend less time wrestling in the garage and more time enjoying the ride.